Cura Setup
General Notes
- In this tutorial we will be running the Ultimaker Cura (v5.4.0) program on a PC with Linux Mint as the OS.
- These instructions will be largely the same regardless of your OS (Windows, Mac, Linux) and 3D printer, so no need to worry. However, the location of various buttons and components in Cura may change in future versions. We will try our best to keep this page updated as new Cura versions roll out!
- ⚠️ IMPORTANT: The type of filament used for printing will be dependent on the specific applications you have in mind for the XFAVR device.
- If you work in a chemical lab and typically use organic solvents such as DCM, ethyl acetate, chloroform, methanol, etc, then PLA will not serve a sufficient filament for printing as PLA is slightly soluble in most organic solvents
- We recommend using a PVA (polyvinyl alcohol) filament for 3D printing if the XFAVR device will be in close contact with these organic solvents. Keep in mind that the PVA filament is water-soluble, so if you will be working with aqeuous solvents (such as in a biology lab), then please use PLA as a filament.
- Note: We recognize that PVA is considerably more expensive than PLA. If you are working in a chemical lab with organic solvents that may come in contact with the XFAVR device during operation and strongly prefer not using PVA, PLA can be used if it is covered with a chemically resistant material. We had some success with wrapping the printed components using a clear garbage bag (such as this one), cutting the excess garbage bag plastic using scissors, and tying the ends with a small ziptie.
TLDR (Too Long, Didn’t Read): If using organic solvents, it is recommended to print with PVA filament. If using aqueous solvents, it is recommended to print with PLA filament.
Steps:
Launch Ultimaker Cura
- Launch the Ultimaker Cura program. If you have not yet installed this software, please take a look at the General Information section for a link to download the software.

Adding a Printer to Cura
- Note: We used both the Ender-5 Plus and Ender-3 v2 3D to print our parts. If you are using another printer, these steps will generally be exactly the same.
-
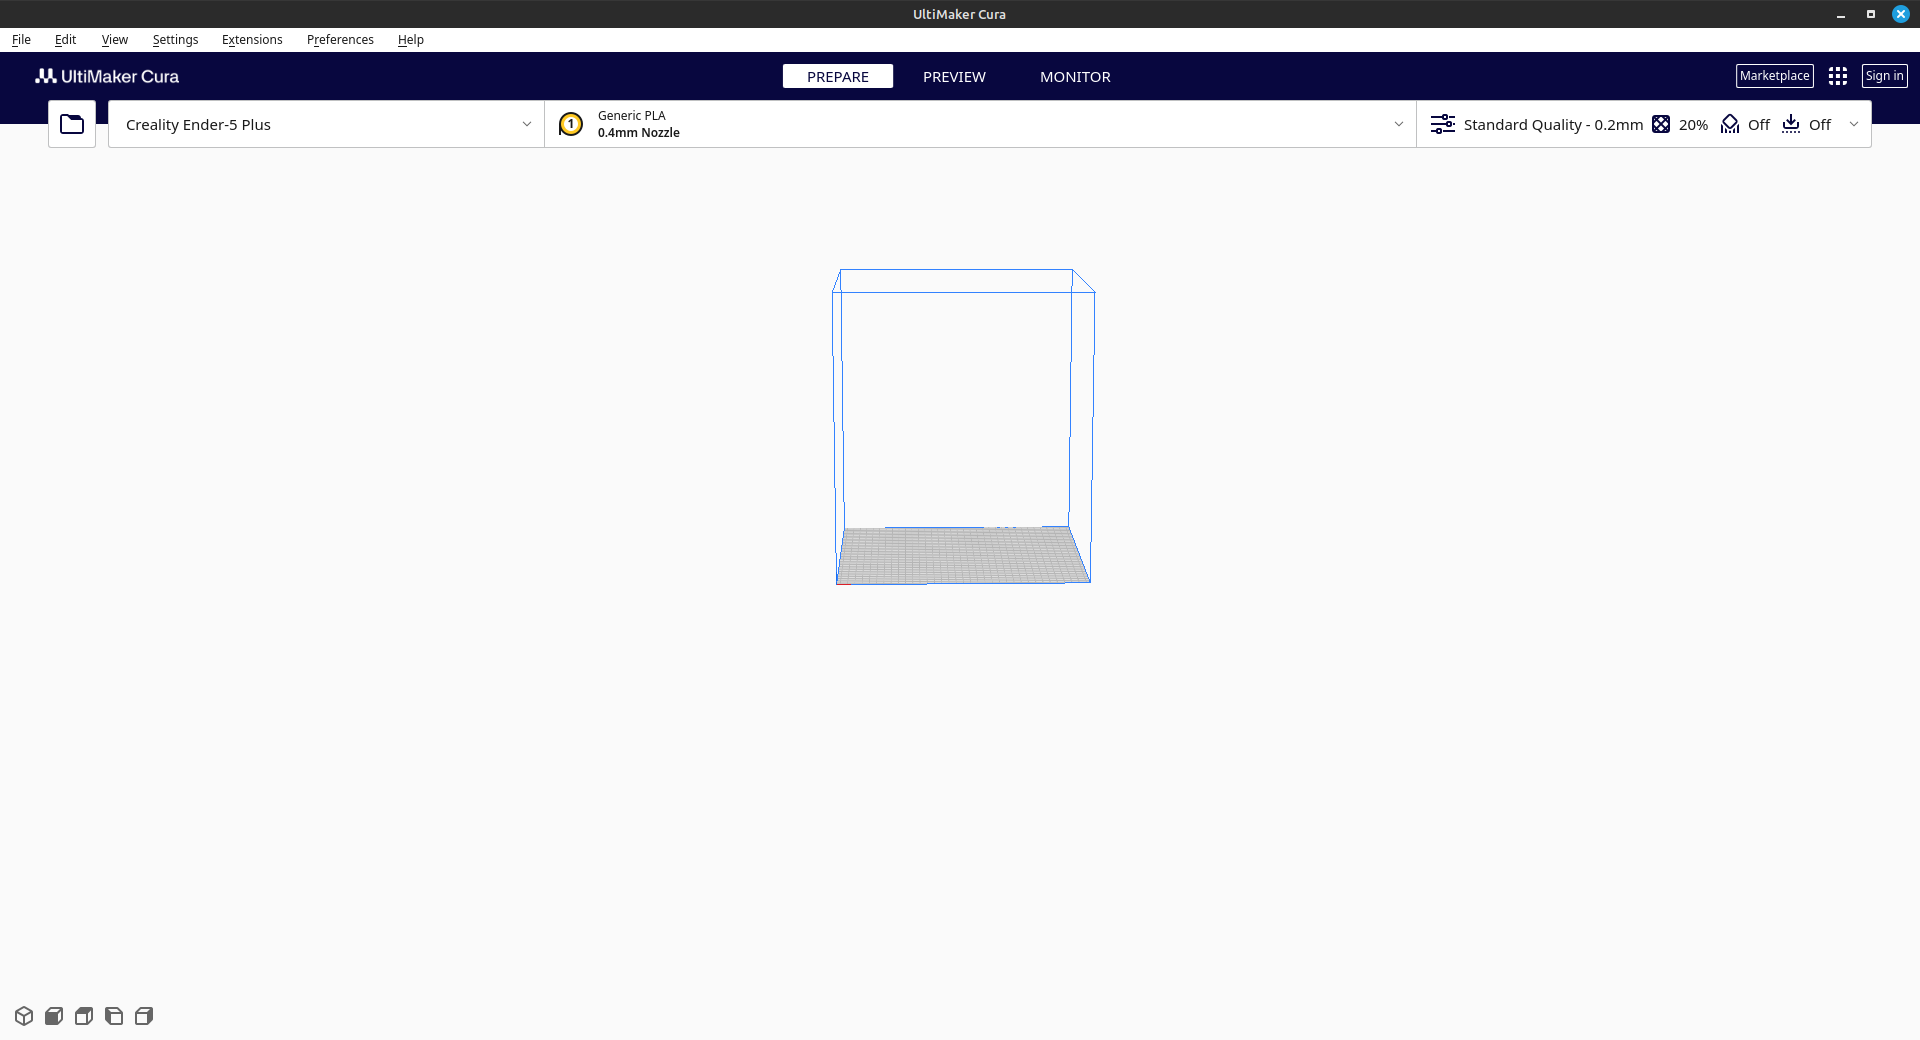
Click the printer component in the top left of the program.

-
Click the ‘Add printer’ button.

-
If adding an Ultimaker printer, click the ‘Ultimaker printer’ option. If adding another printer brand, click the ‘Non Ultimaker printer’ option.

-
Click the ‘Add a non-networked printer’ option.

-
Choose your printer brand and respective printer model and click the ‘Add’ button.

Ensuring Proper Filament Settings
- Note: Cura will default to using PLA as the filament. See the General Notes section at the top of the document to determine what filament you should use for printing.
-
Click the filament component in the top middle of the program.

-
Click the material option.

-
You now have the option of choosing your filament brand and material (if available). If your filament brand is not listed (it likely won’t be), you can add a generic filament material. Find your filament material and click on it.
Editing Cura Settings
- Note: Based on the printer that you added in the Adding a Printer to Cura section, Cura will automatically generate preset settings optimized for your printer. Usually these printer settings are only generated by Cura for PLA filaments.
- ⚠️ If you do not have the preset settings enabled on your Cura (e.g. you are using PVA filament), then don’t worry about this section. Important settings for each file to be printed are discussed in their respective sections.
-
Click the print settings component in the top right of the program

-
Ensure that ‘Resolution’ is set to ‘Standard Quality’.

Note: For the following sections in this documentation, you can edit the recommended print settings to your liking. However, in each section we will suggest our recommended printing settings to assist beginners in getting their parts printed with ease!