Case Framework
Notes
- It is highly recommended to build and assemble the XFAVR microcontroller case.
- Prior to full assembly of the case, it is recommended to connect the appropriate components to the microcontroller before seating it in the case and putting on the microcontroller enclosure. It will be easier to connect the wires and see what you’re doing before the microcontroller is “locked” in the case with the enclosure.
- Please refer to the circuit diagram for any needed clarification on the wiring schematics.
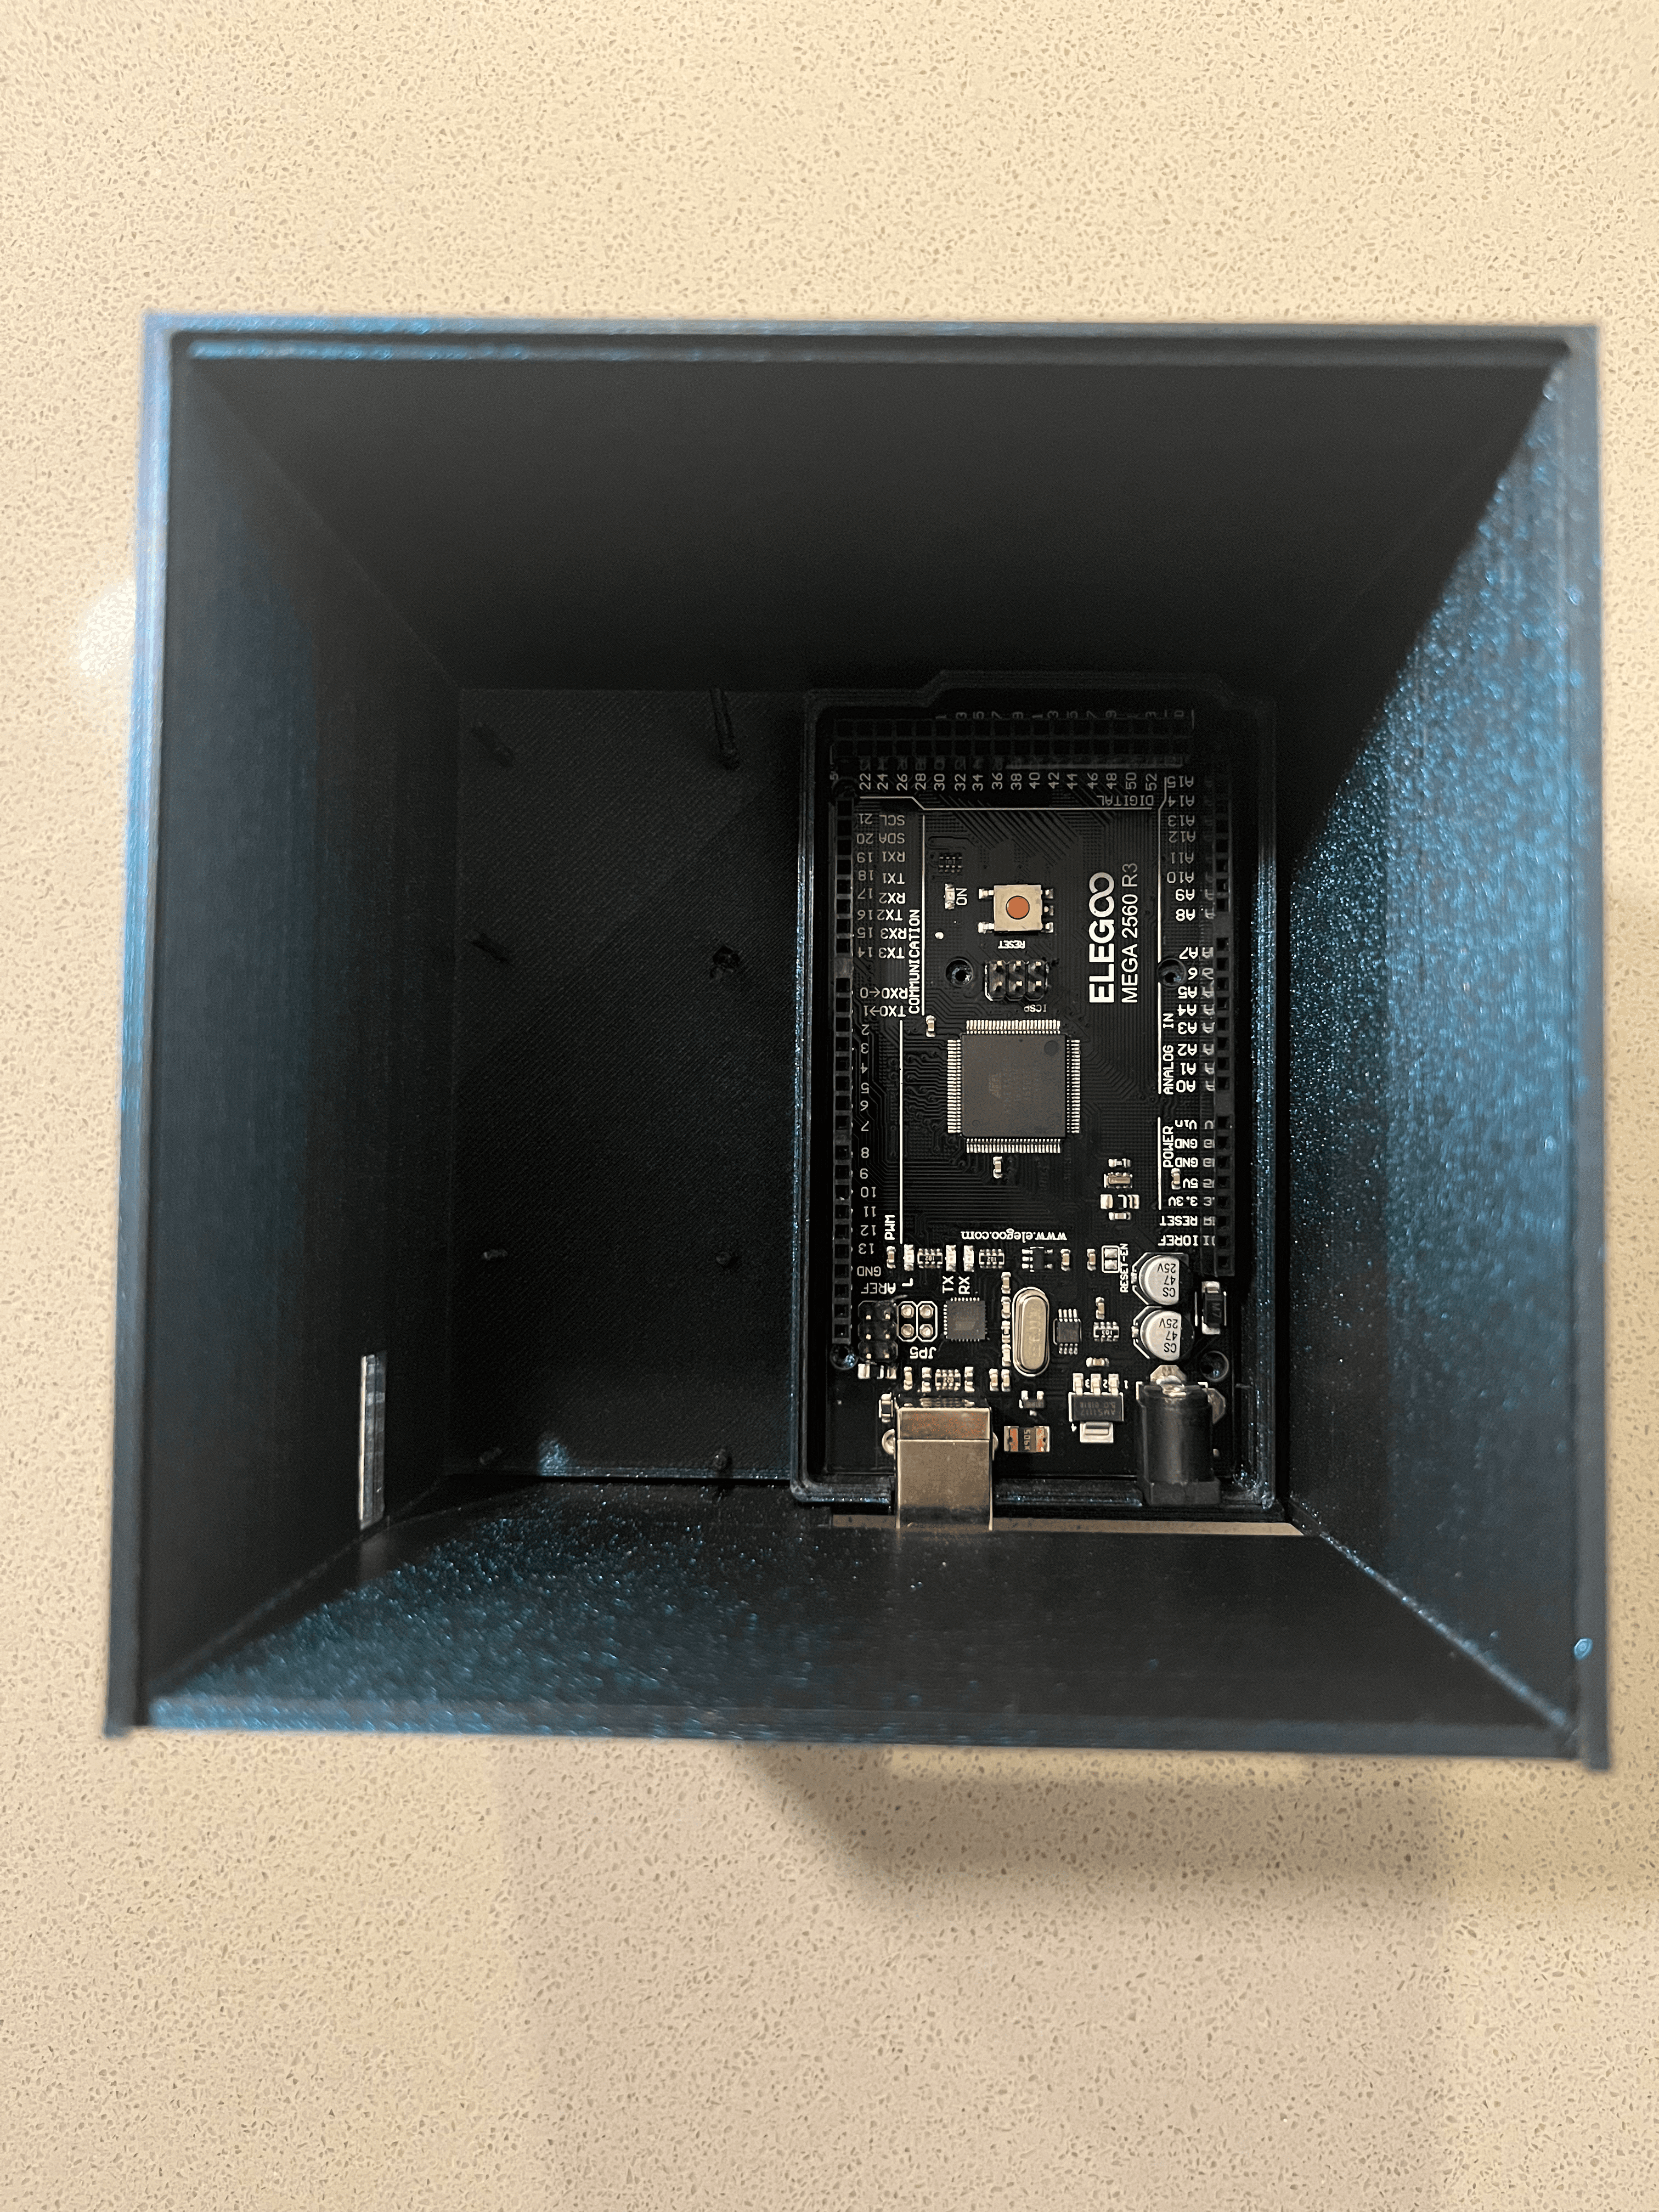
1. Placing Microcontroller
- Place the microcontroller in the appropriate slot. The size of this is meant to fit the Arduino Mega and a few other alternative microcontrollers.

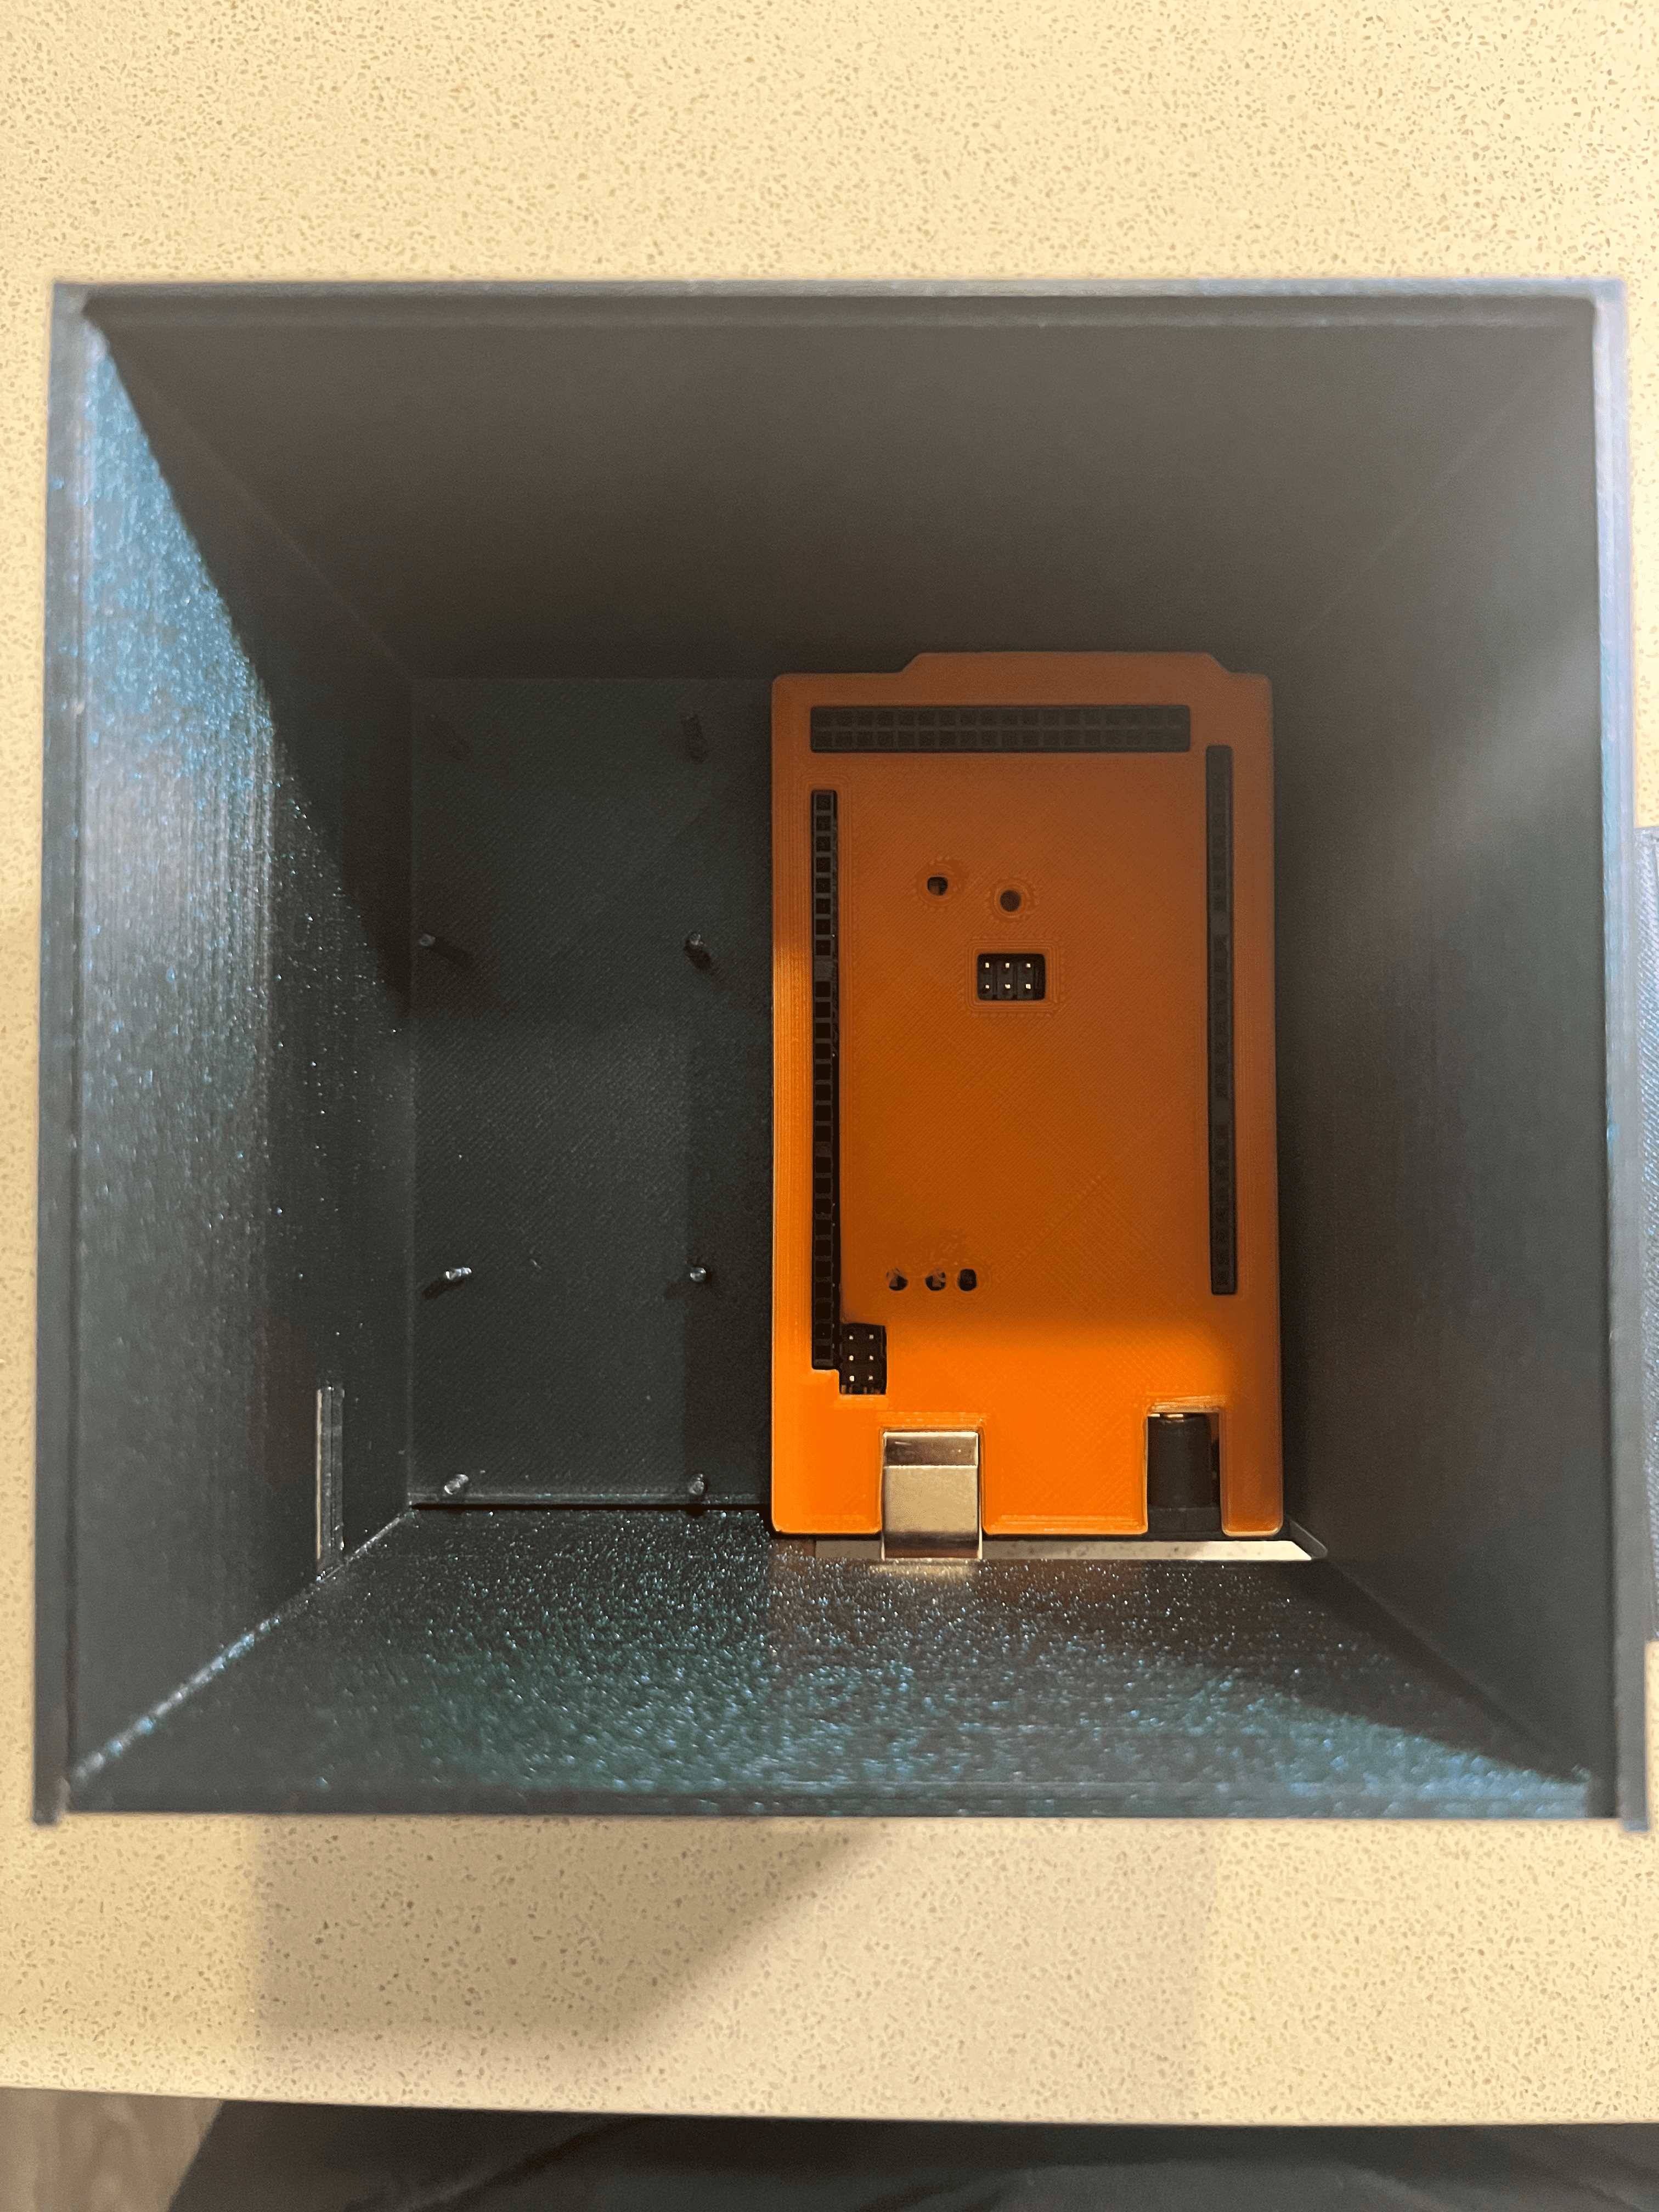
2. Locking With Enclosure
- To lock in the microcontroller, snap in the microcontroller enclosure. It is recommended to do this step at the very end, otherwise you will not be able to see the microcontroller pin numbers.
